Installation · 9 min read
How to Install Your Kitchen Cabinets
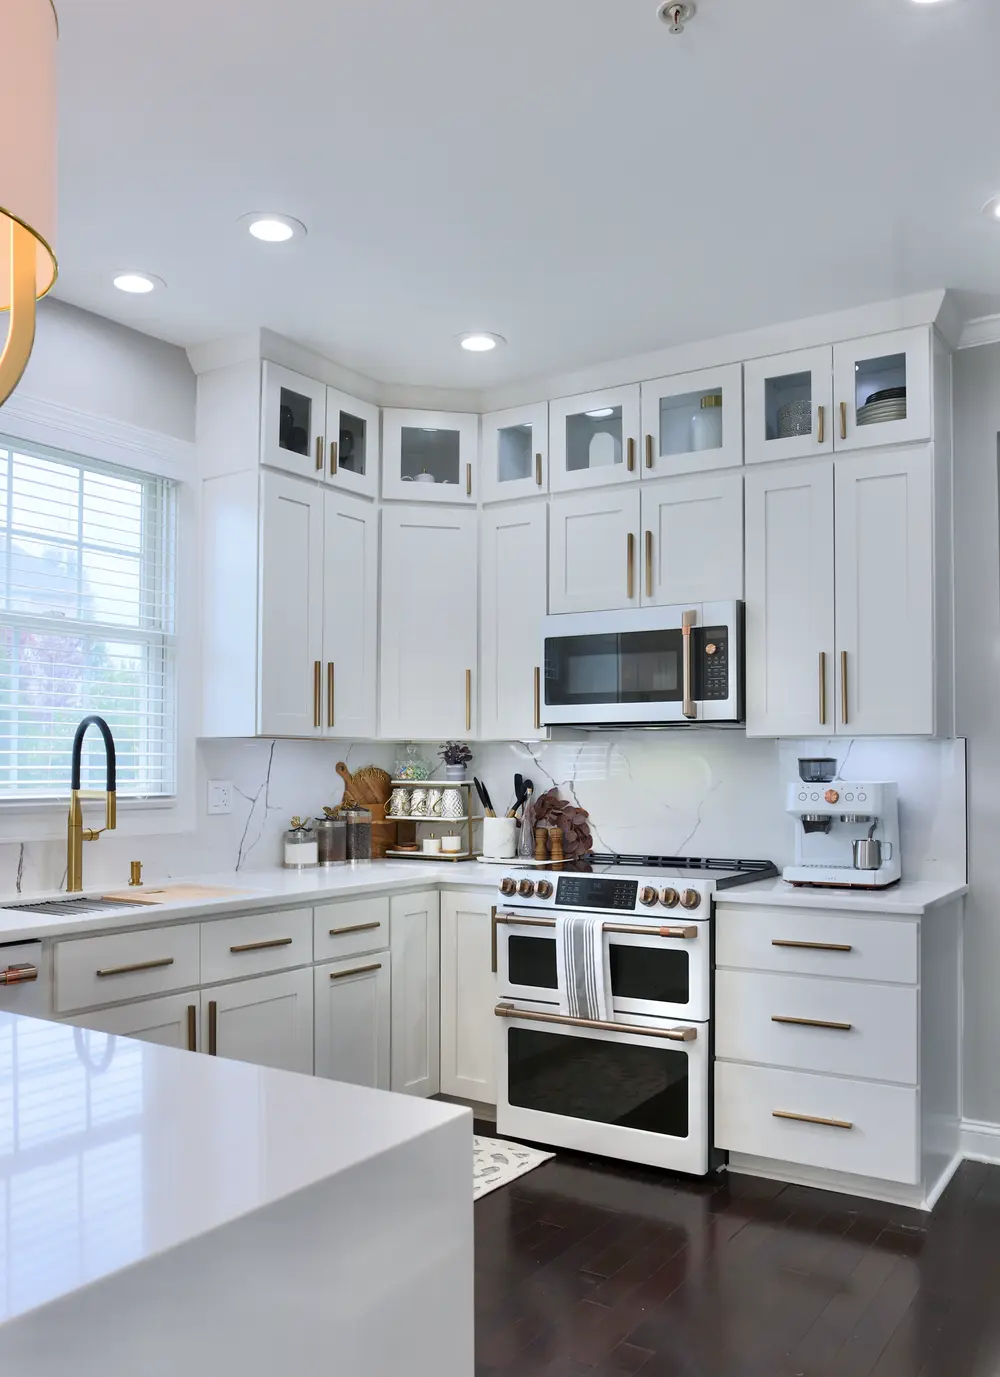
Once your White Shaker cabinets are assembled, installing them correctly is what makes the finished kitchen look and function like a professional job. This guide walks through the order of operations most installers follow, from marking your level line through the final toe kick.
Before you start
Confirm your walls are marked for stud locations using a stud finder, and mark each stud with a vertical pencil line that extends above where your wall cabinets will sit. Shut off any electrical circuits you will be working near, and remove baseboards along the cabinet run if you plan to run cabinets to the finished floor.
Step 1: Establish your level line
Find the highest point of your floor along the cabinet run using a level, since base cabinets are set level from that point and shimmed up everywhere else. Measure up 34.5 inches from that high point (the standard base cabinet height) and snap a level chalk line around the room. This line represents the top of your base cabinets and is the single most important reference in the whole install.
Measure up from the base cabinet line to mark where the bottom of your wall cabinets will sit, typically 18 inches above where the counter surface will land.
Step 2: Install a ledger board
Temporarily screw a straight board along the wall cabinet line to support the weight of the upper cabinets while you fasten them. This lets you position and level each cabinet without holding it in place by hand, and makes the install dramatically easier for one or two people.
Step 3: Hang the wall cabinets first
Installing upper cabinets before base cabinets gives you room to work without leaning over counters. Start in a corner, rest the cabinet on the ledger board, and check it for level and plumb in both directions. Drive screws through the cabinet back rail into wall studs, using at least two screws per stud location.
Clamp or screw adjoining wall cabinets together through their face frames before fully tightening the wall screws, so the fronts stay flush and the door gaps stay even across the whole run. Work down the wall one cabinet at a time, checking level at each step since small errors compound quickly.
Step 4: Set the base cabinets
Starting again from a corner, set the first base cabinet on your level line and shim underneath as needed to bring it level front to back and side to side. Screw through the back rail into wall studs where possible. Attach the next cabinet by clamping the face frames flush and driving cabinet screws through the adjoining frames, then screw it to the wall and check level again before moving to the next cabinet.
Use a level across the tops of several cabinets at once as you go to make sure the whole run stays consistent, not just each cabinet individually.
Step 5: Fillers, corners, and panels
Filler strips close small gaps at walls and corners and are trimmed to width with a table saw or circular saw before being screwed to the adjoining cabinet. Fit fillers snugly against the wall, especially in corners where walls are rarely perfectly square. Finish panels dress up any exposed cabinet sides and are attached the same way as fillers, with screws from the inside of the adjacent cabinet.
Step 6: Toe kicks and final checks
Once all base cabinets are set, level, and secured, attach the toe kick along the bottom front of the run, scribing it to the floor if the floor is uneven. Remove the wall cabinet ledger board and touch up screw holes. Do a final walk through checking that every door and drawer opens, closes, and aligns evenly, and adjust hinges as needed.
If you would rather not tackle installation yourself, our expert assembly service builds cabinets before delivery, which simplifies the install to setting and securing finished boxes.
Frequently asked questions
Should I install wall cabinets or base cabinets first?+
Wall cabinets first, using a temporary ledger board to hold them at height. This gives you clear access to the wall without base cabinets in the way, and is the order most professional installers use.
What if my walls or floor are not level?+
This is common and expected. Base cabinets are leveled from the highest point of the floor using shims underneath, and wall cabinets are leveled independently against a chalk line, not against an uneven floor or ceiling.
Do I need to screw into studs?+
Yes. Cabinets should always be fastened into wall studs wherever possible, with at least two screws per stud for wall cabinets given the weight they carry once loaded.
Ready to plan your kitchen?
Design it free in 3D, get a parts list and 8% off every complete kitchen. Free delivery within 300 km of London, Ontario.